A quick guide to setting up & using Hootsuite

What is Hootsuite?
Hootsuite is a “Social Media Management System”, under the free version you can have 3 social media platforms and schedule up to 30 messages at any one time. It comes equipped with a dashboard for each platform also, so you can see a stream of information at once. Managing your businesses multiple social media platforms can be a full-time job (just ask our social media managers) and if you plan to regularly update them all, I highly recommend using a tool like Hootsuite. Hootsuite will take a little time to get used to but this quick how-to tutorial will give you the basic setup!
Setup
One you arrive on the website in the top right-hand corner press ‘Sign up’, this will lead you to their pricing structure. If you plan to use this for the 3 platforms only scroll past all these options to the free version just below:

This will then prompt you to enter a name, business email and password. Once this information has been accepted it will bring you to the connection page, this is where you will add your three platforms.

For the purpose of demonstration, I will use Facebook as an example, Click on Facebook. If you are not currently signed in, it will ask you to sign in, and it will then ask permission for Hootsuite to manage your business. If you happen to have more than one business page you will need to edit the settings to only allow the one you want to manage in Hootsuite. Do this for each of your chosen three platforms.
Once this is done you will be prompted to go forward and enter your business details:

Hootsuite will then bring you through a quick tutorial,

How to schedule a post
Step 1
On the top right-hand corner of your screen there is a post button click this and you will be brought to a new post page. Your first option will select which platform you will be posting to

Step 2
Write your post including all text, links and hashtags

Step 3
Add any media you want including photos or videos here

Step 4
When do you want to post? Select a time and date and hit schedule.

As you are creating your post, you will see a preview of how your post will look and the right-hand pane. It will also give you a warning, if you go over the 280-character limit for Twitter.
How to see what I have scheduled
There are two ways to see what is scheduled, on the left-hand black menu the second option is publisher, click in here to view your posts.

Once in publisher, this will give you two options.

The planner will give you a calendar schedule of your past & future posts, while Content will give you a list version of this.
Hootsuite Streams
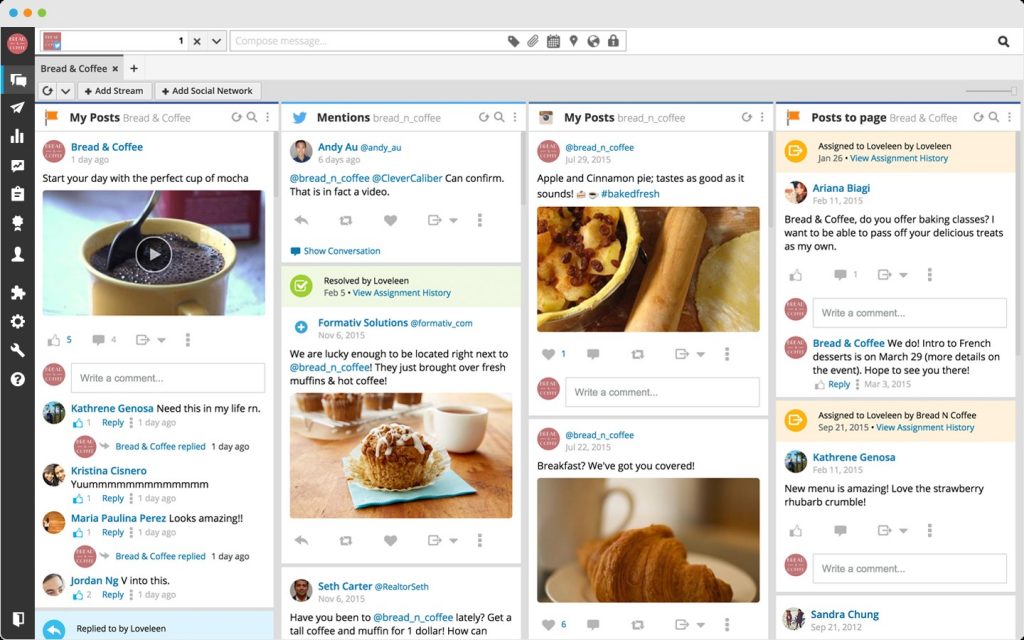
As you can see from the menu above the first menu item is streams, this is your homepage where you can see your recent posts, timeline, mentions, messages, scheduled posts. The stream you can have will vary from social media platform to the next below is an example of the streams available from Facebook:

Below is an example of how your home page of streams can look:

So, there you have the basics of Hootsuite in this quick tutorial. If this is still a little foreign to you don’t worry! That’s what the digital marketing team at Dmac Media are for, contact us today if you need help to setup your social media management platform.


 Graphic Design Brief
 Better Customer Relations = Better Bottom Line Profits
 Explained - The Facebook Pixel